photoshop tutorial

This tutorial was focused on the steps towards animating a 2D image to place in after effects for further animation

This tutorial was extremely helpful but due to no previous experience on such software the results were not as imagined. So no evidence can be provided at this time as the file is on a separate computer but shall be uploaded as soon as it is acquired


The tutorial consisted of Turning a 2D image in to a animated character in after-effects, there was not much familiarity with this software so getting to grips with this software took longer than expected and there is still much uncertainty with the software as there are minimal hours put in to the software so far.

so over the summer more hours will be put in to after effects and the whole adobe package for the next year.

editing for The Twilight Saga: Breaking Dawn – Part 2 (Opening Credits)

This Post is based on the introduction scene from twilight: breaking dawn: part 2 following on from part 1


The Introduction uses time-lapse of ice growing and roses freezing representing the blood and body being frozen in the stated it is in and repairing to it best state also it give the felling of heightened sence of surrounding and minute details.

Black sail title sequence


This introduction is particularly interesting due to the use of CGI and that it is a 3D model and a virtual camera moving in scene.

Thus means that the budget for the T.V. series is high due to the time spent modelling this digital sculpture,

This introduction also portrays the fell of the series the amount of death, destruction and  politics, in turn this introduction on its own would bring an audience to watch the programme.

Dexter Title sequence

Here is the video under discussion http://www.youtube.com/watch?v=cSjvLWHgaPI

This title sequence shows the Main character “Dexter” getting ready for a new day,  the preparation of his breakfast and various other activities, creates an atmosphere of nervousness or uncomfortableness which in turn gives the feel of the character since he is a serial killer and is a character that is uncomfortable to be around.

30’s Eye Clip


This video is very simple but there are various things that could be changed if a re-edit was done. a colouring issue is that all the lighting changes due to the various environments it was filmed in, if there was to be a reshoot it would be shot in a more controlled environment.

The audio in the film is from Ellie Gouldings song “Dead In The Water” where the first 15 seconds were cut and  replicated with a fading transition in the centre to face between the 2 this is slightly noticeable so on another edit of this film a different approach will be taken.

Macro eye shot

Introduction (Backstory)

It all started with a cannon 5D MkII and a 50mm 1.2 Macro lens with my original test footage shown here: https://vimeo.com/36228974

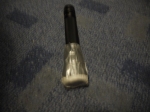
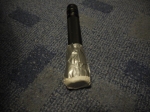
This was lightened using a single white LED light like this one:

Led

which was duct taped to my face to free up my hands. to be able to use a mirror to focus the 5D as a external monitor wasn’t present. This created a multitude of problems like not being able to see out of my left eye for a few hours.

lens

So once I found a viable replacement I decided that I should try this on a budget and maybe less damaging.

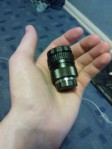
I decided with a 25mm lens meant for Super 16mm camera’s such as the Bolex I then used two macro rings and an adaptor to fit it to my little Panasonic Lumix G2

25mm lens

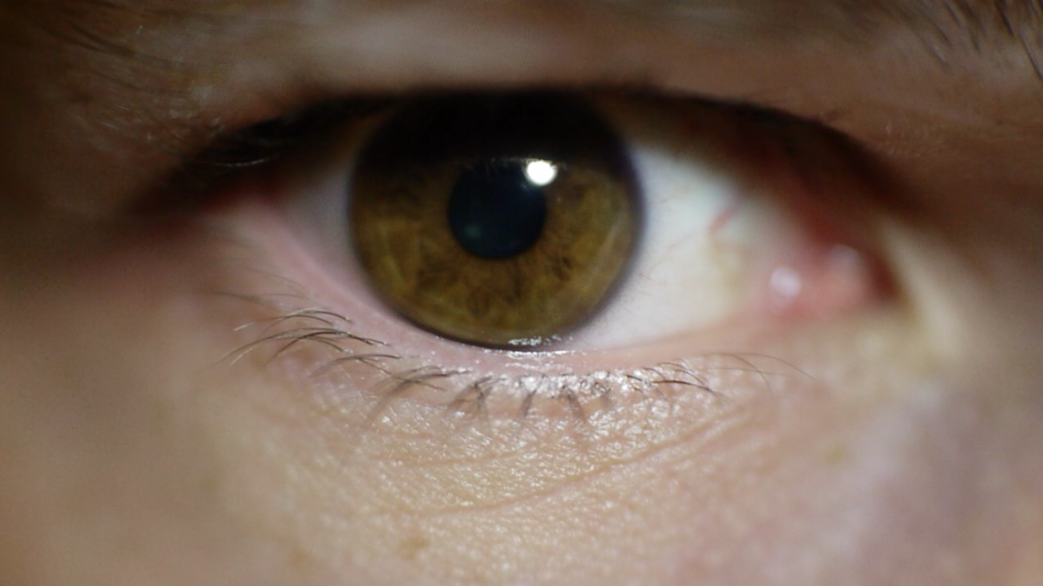
The main problem I encountered was that the focus was so shallow that any movement brought the subject out of focus, so instead of moving the camera i decide to move the subject to the camera allowing more control of the subjects  to bring them in to the focus field.

Lighting

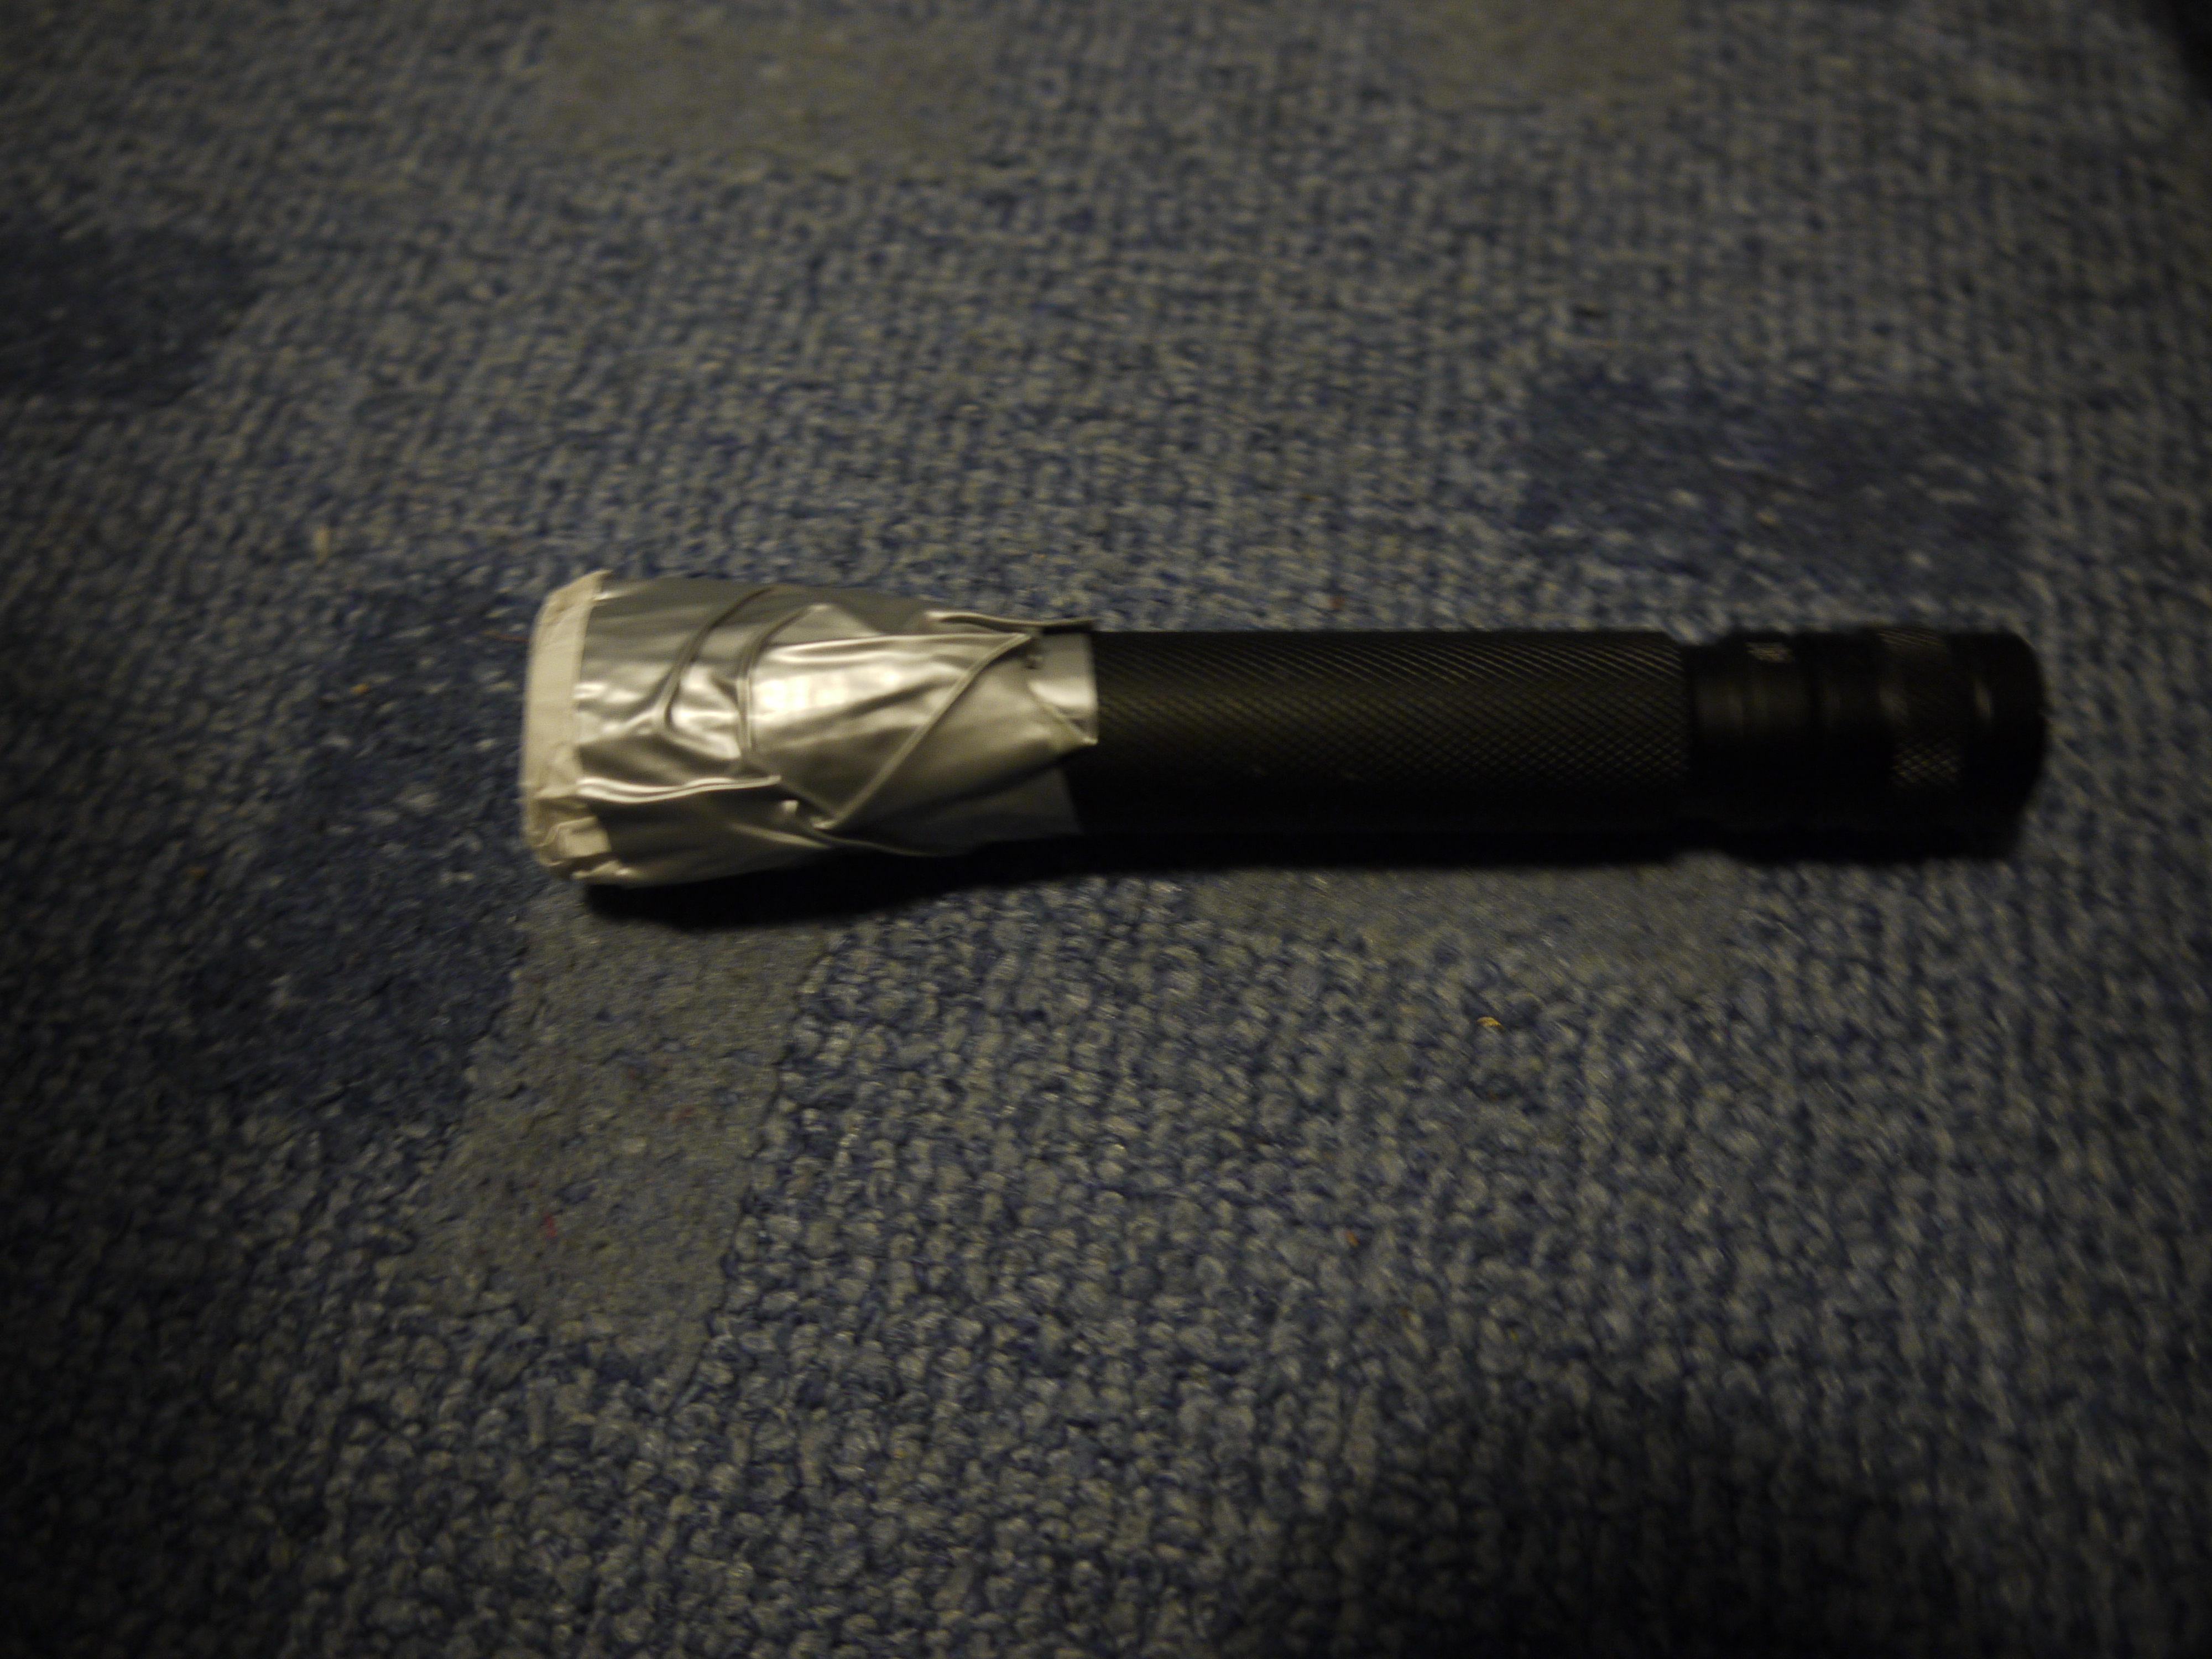
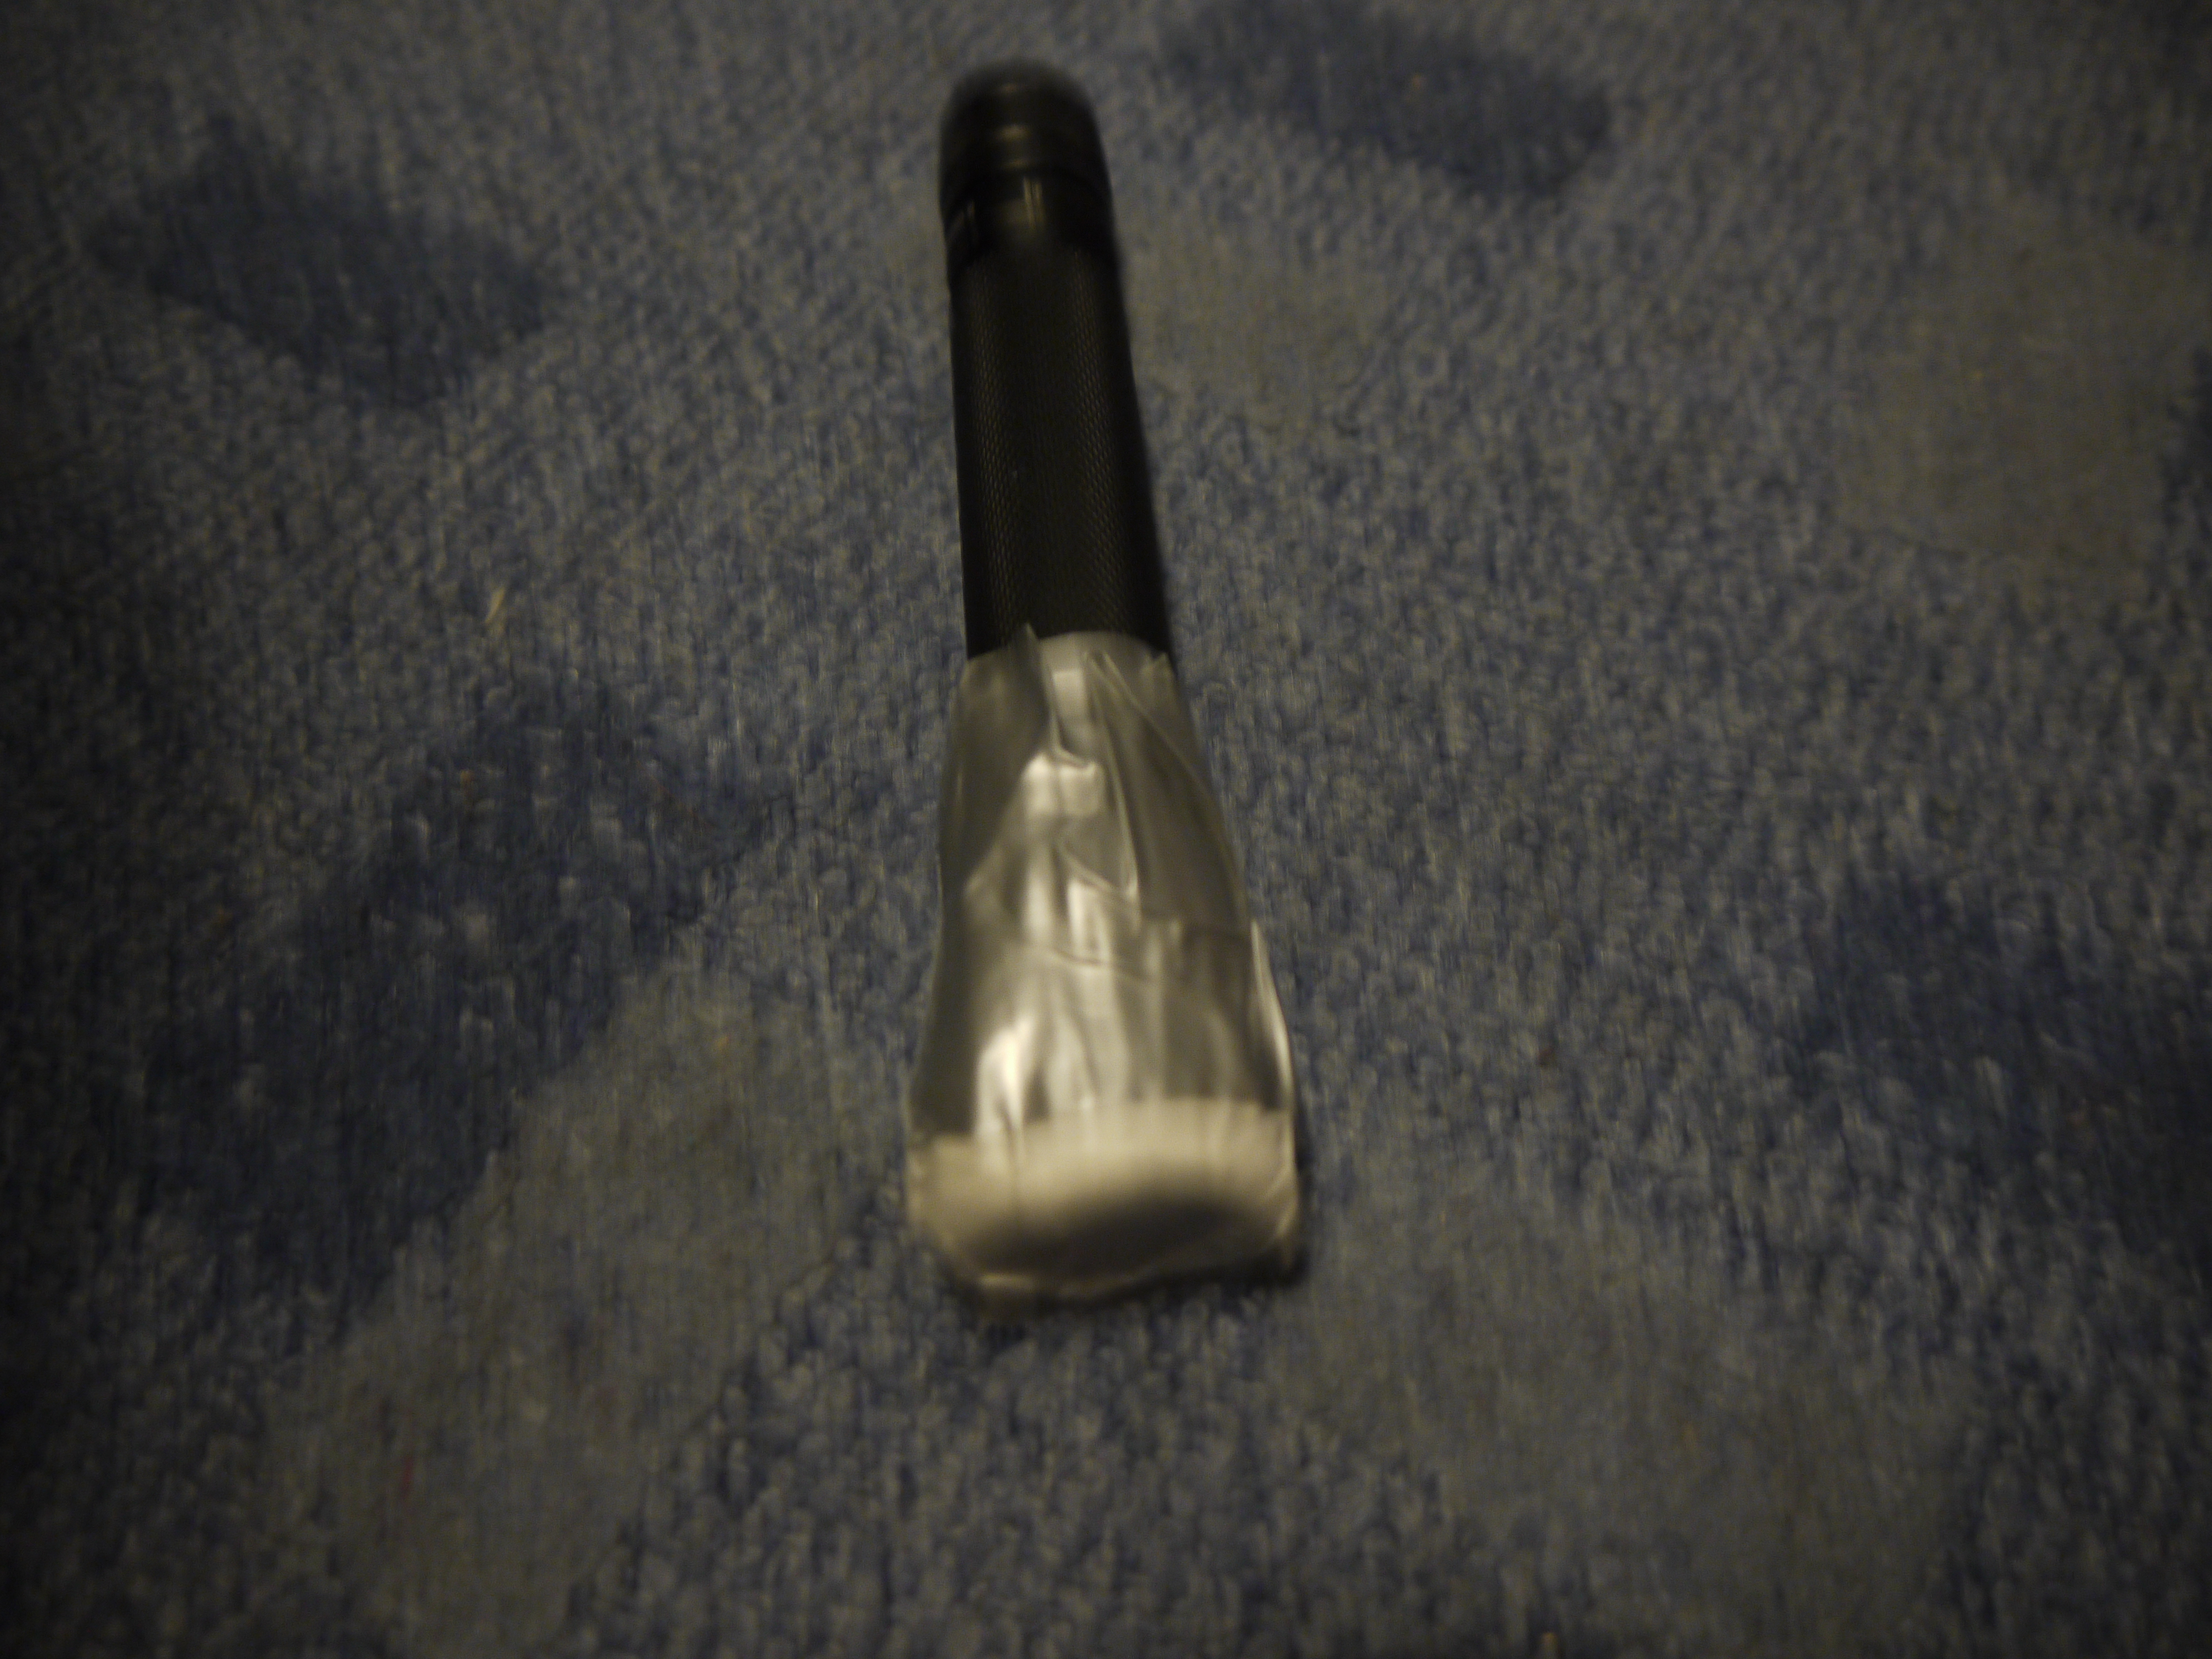
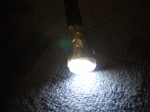
I tried to light these shots as well as possible but as lightweight as possible so I settled on a led torch powered by 2X AA batteries, but found this still to harsh so decided to use white cupcake parchment and duct taped it to the end of the torch creating a better light diffusion on the eye’s also make it esker to bear while having it pointed at your eye.

eye light side on light front on P1080167 P1080168 P1080169

Colour

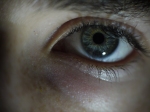
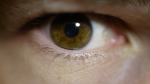
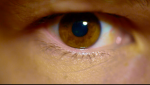
To create the look I wanted for this clip I boosted the contract to its maximum to allow these seemingly flat pictures come to life like pieces of art (paintings), for example below is Matt from Staffordshire University stores. as a comparison of colour how they look colour boosted.

Matt from stores matt from stores colour boosted


Summary

So to some up you don’t need expensive camera and amazing £400 lenses with lighting kits. Deal with what you have first anything else is a bonus.

Finished product

link to the finished video is here: https://vimeo.com/80823879

Additional information

If you require another information please email me on :

et04231@yahoo.co.uk


Dredd – Nonconformity of time (20:00 – 22:52)

This edit was quite intriguing due to a multitude of things such as not only is the variation in time in the edit such as the slow motion, but the colourisation of the film in the different times speeds, such as emphasising on the the colour of blood shown in the scene. being coloured more on the orange side rather than the red. this is believed to draw the viewers attention to the fact that anything can look “amazing/Beautiful” in slow motion and this is why it is believed to have been used for this purpose.